Override volumes
Blend focus and lens settings spatially across your scene with spatial, camera fallback, and aim-down-sight override volumes that work within the Unity Volume Framework.
What override volumes do
HIBIKI entertainment override volumes let you blend focus and lens settings across different areas of a scene.
How override volumes work
Override volumes blend selected focus and lens values within defined areas of a scene, following a workflow similar to Unity's Volume Framework. You can use them to refine constraints or extend the automatic depth-of-field behaviour for a specific part of the scene.
Autofocus may not always find a suitable target. You may also want to keep autofocus active while changing selected lens or focus values instead of disabling it completely. Override volumes provide those additional controls without replacing the automatic solver.
The workflow follows the same pattern as normal Unity Volumes. If you already use Unity Volumes, you can add an override volume to an existing volume and configure it using familiar priority and blending concepts.
Override volumes follow the same priority and blending rules as Unity's Volume Framework. If you are familiar with Unity Volumes, the workflow is identical.
Volume roles
Each override volume has a Role that determines when the resolver considers its settings.
| Role | When it applies | Use case |
|---|---|---|
| Spatial | While the camera is inside the volume's bounds. | Refine lens or focus settings for a specific area of the scene, such as a corridor or interior. |
| CameraFallback | Always, while Advanced Mode is enabled and the volume is assigned to the camera. | Set a camera-level baseline that follows the camera — for example, depth of field off by default. |
| ADS | While aiming is active via AutoDepthOfFieldAPI.SetAimingState(true). | Switch to weapon-lens or inspection settings when the player aims. |
To activate or deactivate the ADS role, update the aiming state through the API:
AutoDepthOfFieldAPI.SetAimingState(true);

// Disable aiming when the player stops aiming.
AutoDepthOfFieldAPI.SetAimingState(false);
The active ADS override volume controls the focus and lens behaviour while aiming is enabled.
The CameraFallback role does not use spatial bounds. The volume follows the camera and contributes as a camera-level baseline — every frame, before any spatial volumes are evaluated. This makes it useful for setting scene-wide defaults that spatial volumes can override locally.
CameraFallback requires Advanced Mode to be enabled on the AutoDepthOfField component, and the volume must be assigned to the component's AdvancedApertureVolume field. Without both, the fallback volume is ignored.
Volume priority and selection
Each volume has a Priority value that determines its selection order when multiple volumes overlap. A higher-priority volume overrides a lower-priority volume for the same settings.
AutoDepthOfFieldVolumeResolver resolves spatial, camera fallback, and ADS overrides at runtime. The resolver evaluates the applicable volumes and combines their checked override values according to their role, bounds, priority, and blend state.
Stacking volumes is supported and is common when several volumes control scene-wide standards and local refinements. The community often refers to layered volume setups as “Volumeception”.
Adding an override volume
Before adding a volume, make sure your project uses HDRP or URP. The Built-in Render Pipeline is unsupported.
Select a Unity Volume
Select a Unity Volume in your scene, or create one for the area that needs custom focus or lens behaviour. Or, Game object menu > HIBIKI entertainment > Override Volume
Open the component menu
In the Unity Inspector, click Add Component.
Add the override component
Navigate to HIBIKI entertainment > PBADOF > Override Volume.
Confirm the component
Confirm that the AutoDepthOfFieldOverrideVolume component appears on the GameObject.
Choose the volume role
Set Role to Spatial, CameraFallback, or ADS, depending on when the volume should apply.
Set the priority
Set Priority relative to other volumes that can affect the same camera. Use a higher value when this volume should win over a lower-priority volume for the same settings.
Configure the volume data
Configure VolumeData, including the focus overrides, lens overrides, and glass correction overrides that the volume should contribute.
Configure collision detection
If the volume needs to detect the player camera, ensure that its collision trigger has a character controller attached.
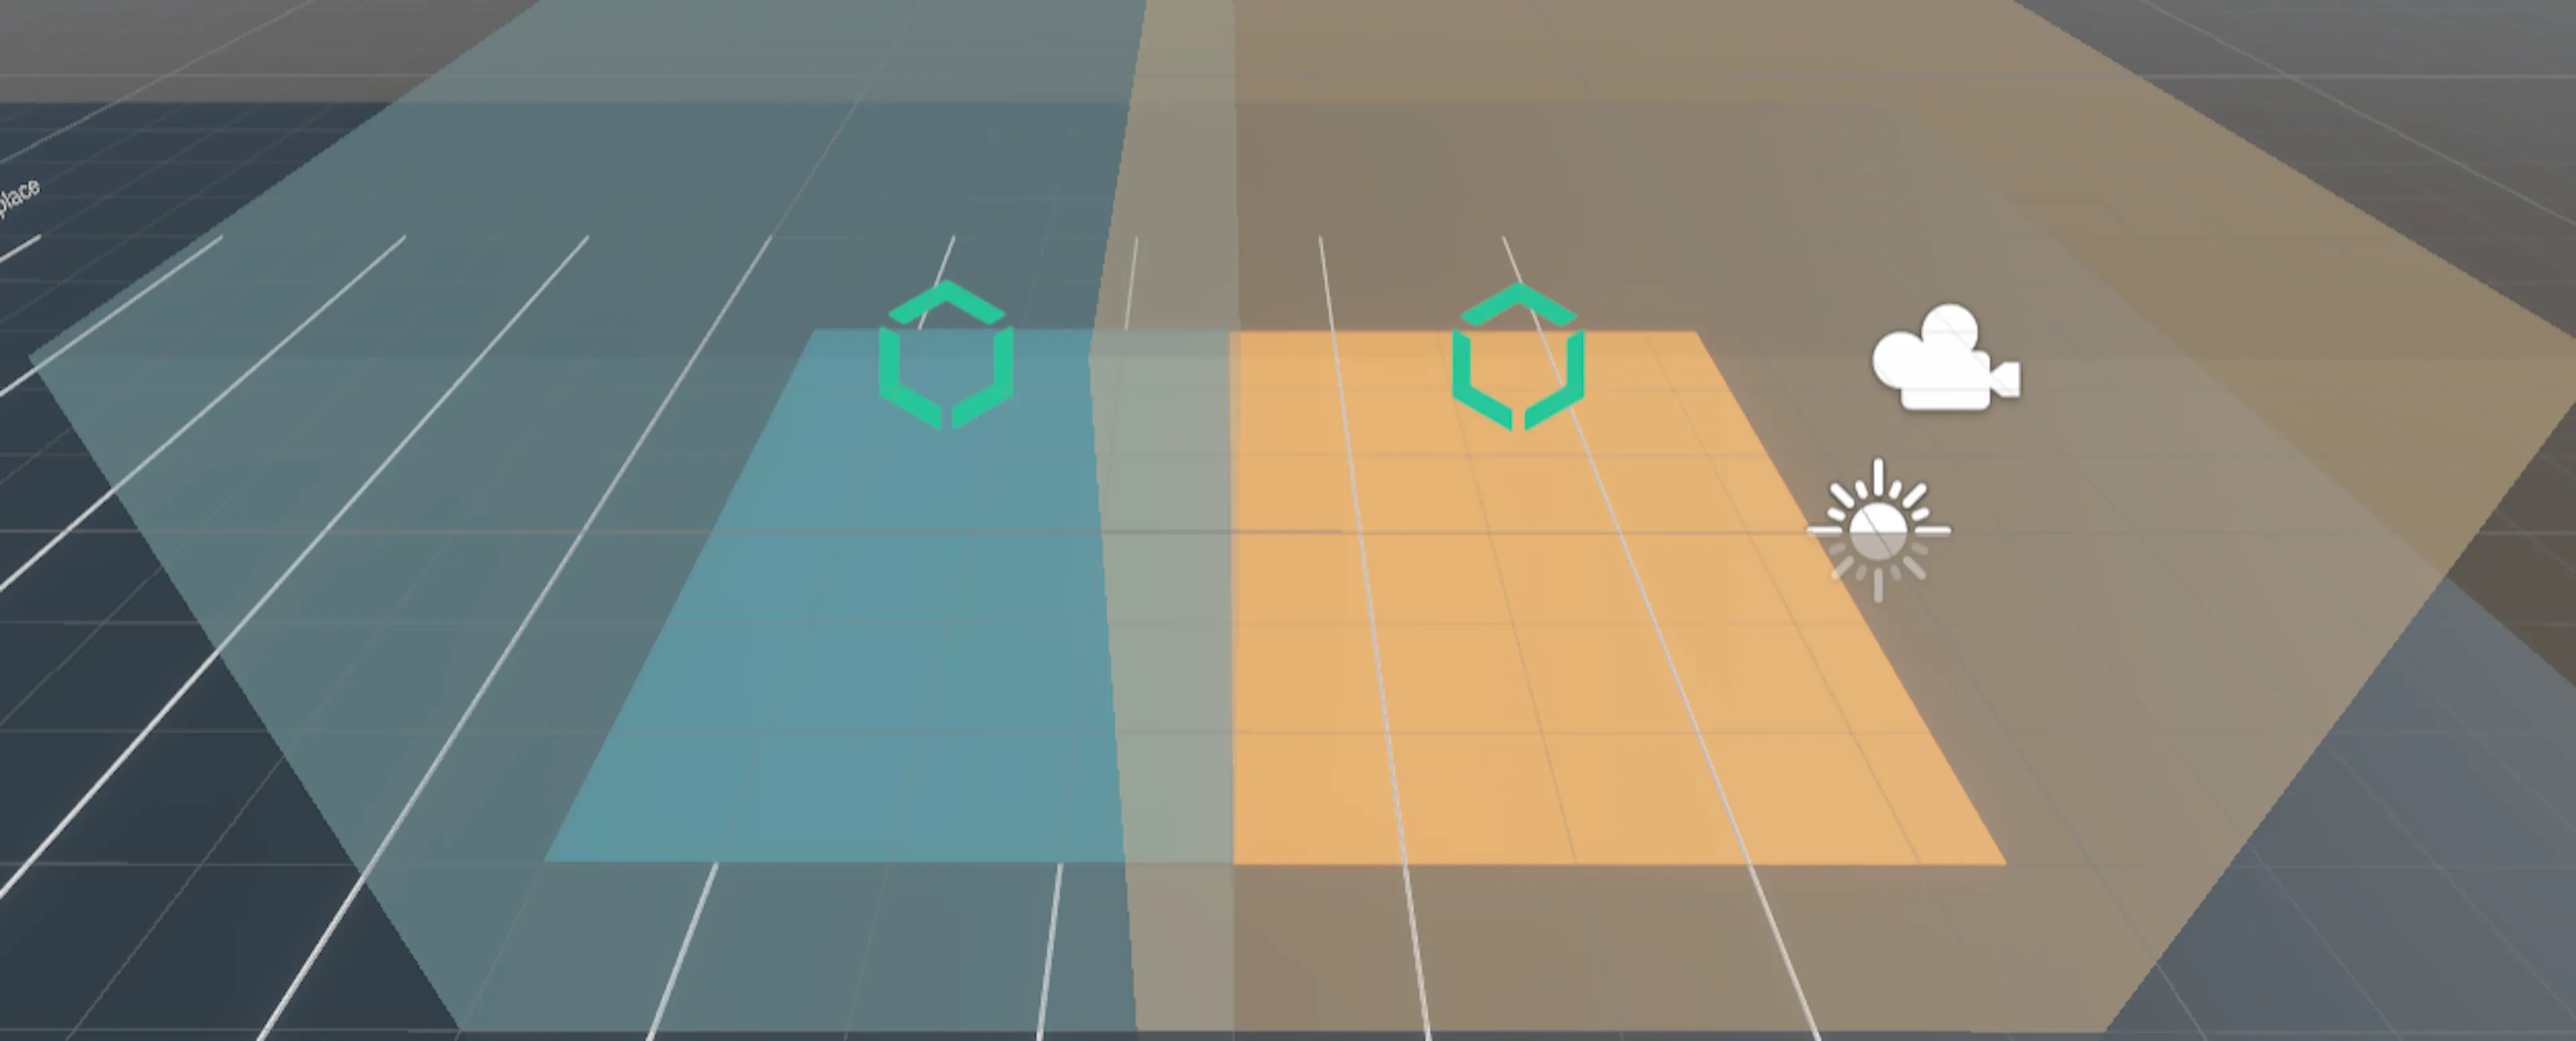
Ensure your collision trigger has a character controller attached. The camera tag must match the tag name on the override volume.
You can also add the Override Volume component directly to pre-existing Unity Volumes. It works alongside any other volume overrides already on the same GameObject. This helps with performance where you may not need a dedicated volume for both auto focus and other Volume Overrides.
Applying presets to volumes
Apply a DepthOfFieldPreset to an override volume with ApplyPreset. Checked override fields on the volume remain preserved, so you can update the shared base configuration without losing per-volume customisations.
This approach lets you use one preset across multiple areas while retaining local differences, such as a different aperture in a corridor or a different focus distance for an inspection area.
| Method | Description |
|---|---|
ApplyPreset(DepthOfFieldPreset preset) | Applies a preset to the override volume while preserving checked override fields. |
ContainsPoint(Vector3 worldPoint) | Checks whether a world point is inside the volume bounds. |
BuildBounds() | Rebuilds the volume's collider bounds. |
InitializeVolume(bool buildBounds) | Initialises the volume and optionally builds its bounds. |
ResetVolume() | Resets the volume to its default state. |
Stacking volumes
Volumes can be stacked so that multiple volumes contribute to the final focus and lens values in the same area. For example, a large spatial volume might set a base aperture, while a smaller spatial volume inside it increases the focal length for a claustrophobic effect. Priority determines which values win when settings conflict.
Advanced volume behaviours
Observer mode
Use a spatial volume to allow depth of field only when the camera is close to specific objects. This is useful for observer or inspection modes where the effect should not apply throughout the whole scene.
Claustrophobia effect
Increase focal length in enclosed spaces and decrease it in open areas to change the perceived spatial feel. Place a higher-priority spatial volume inside the enclosed area and configure only the lens values that should differ.
ADS-only lens switching
Use an ADS volume to switch to a weapon-lens configuration only while aiming. The volume becomes active when your gameplay code calls AutoDepthOfFieldAPI.SetAimingState(true) and stops applying when aiming is disabled.
Camera-level baseline
A CameraFallback volume follows the camera and always contributes as the baseline when Advanced Mode is enabled. A common pattern is to leave depth of field off by default on the camera-level volume, then use spatial volumes to turn it on in specific areas.
For example:
- Assign a
CameraFallbackvolume to the camera'sAdvancedApertureVolumefield and enable Advanced Mode. - On the fallback volume, check the
EnabledAutoDepthOfFieldoverride and set it to false. - Create a spatial volume in the area where depth of field should be active.
- On the spatial volume, check
EnabledAutoDepthOfFieldand set it to true.
When the camera is outside the spatial volume, depth of field stays off. When it enters the spatial volume, the spatial override turns depth of field on — and any other checked overrides (aperture, focal length, focus distance) also apply.
Fallback focus distance
Use a CameraFallback volume to provide a stable focus distance when the camera is in open areas. Because the fallback always contributes, you can set a default focus distance on it that spatial volumes can then refine.
Next steps
Learn about the Focus proxy for making renderer-only objects hittable by raycasts, or explore Cinemachine 3 integration for blending gameplay and cinematic shots.